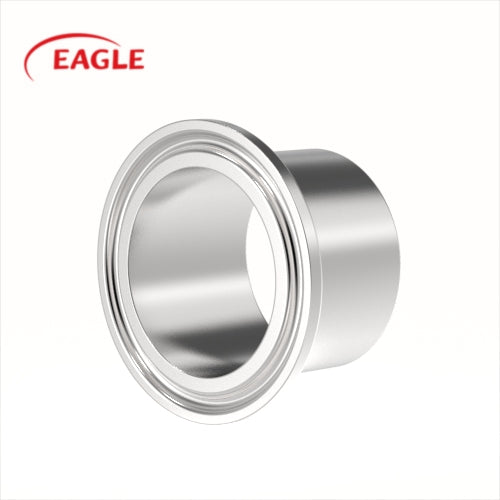
# Sanitary Fitting Installation Guidelines
Proper installation of sanitary fittings is crucial to ensure the longevity and efficiency of your plumbing system. Whether you’re a professional plumber or a DIY enthusiast, following these guidelines will help you achieve a leak-free and durable installation.
## 1. Preparation
Before starting the installation, gather all necessary tools and materials. Ensure you have the correct fittings, pipes, sealants, and any specialized tools required for the job. Double-check the specifications of the fittings to ensure compatibility with your plumbing system.
## 2. Measuring and Cutting
Accurate measurement is key to a successful installation. Measure the pipes carefully and mark the cutting points. Use a pipe cutter or a hacksaw to make clean, straight cuts. Deburr the edges of the cut pipes to remove any sharp edges or burrs that could cause leaks or blockages.
## 3. Cleaning and Priming
Clean the ends of the pipes and the inside of the fittings thoroughly to remove any dirt, grease, or debris. Apply a primer to the areas where the fittings will be joined. This step is essential for ensuring a strong bond between the pipes and fittings.
## 4. Applying Solvent Cement
Apply a generous amount of solvent cement to both the pipe and the fitting. Quickly insert the pipe into the fitting, twisting slightly to ensure an even distribution of the cement. Hold the joint in place for a few seconds to allow the cement to set.
## 5. Testing the Joints
After the solvent cement has cured, test the joints for leaks. Fill the system with water and check for any signs of leakage. If you find any leaks, drain the system, cut out the faulty joint, and repeat the installation process.
## 6. Securing the Fittings
Once you’ve confirmed that all joints are leak-free, secure the fittings in place using appropriate clamps or brackets. This step is particularly important for fittings that will be subjected to movement or vibration, such as those connected to washing machines or dishwashers.
## 7. Final Inspection
Conduct a final inspection of the entire installation. Ensure that all fittings are properly aligned and that there are no visible gaps or misalignments. Check that all connections are tight and secure.
## 8. Maintenance Tips
Regular maintenance is essential to keep your sanitary fittings in good condition. Periodically check for leaks, corrosion, or wear and tear. Replace any damaged fittings promptly to prevent further issues.
By following these guidelines, you can ensure a successful and durable installation of sanitary fittings. Proper installation not only prevents leaks and other issues but also extends the life of your plumbing system.
Keyword: fitting sanitary